It is amazing to me how quickly things can change when working with encaustics. Every time one fuses a layer, there is an almost magic moment when one has to relinquish control, let the melted wax flow, colors mix, and the whole surface rearrange itself into something hopefully more beautiful that what one had before... Sometimes, it doesn't happen, but there is no going back. However, one quickly learns that there is always a way forward. A scraper can reveal patterns of unexpected beauty, and there is always the option of rubbing oil in cracks and pits, sprinkling or rubbing in dry pigments, burning shellac, adding more colored medium with loaded or dry brushes. It's messy:

I usually place the panel on the "Shabat Tray" when I do that to warm it, so I can do longer smoother strokes with a loaded brush an lay down thinner laters of medium. One has to be careful not to heat the panel too much, lest the wax on it starts melting. But then, happy accidents happen, and you can achieve in this way a sort of "reverse fusing", where the bottom layers melt first.
I worked on my two panels side by side at the same time, and got them both to a point I liked them, similar in many ways, but yet quite different.
The next step was to lay down the four printed images: the plumb line, the envelope, the crucifix, and the Agnus Dei. The images printed on thin Sumi Paper easily stuck to the medium, the thicker ones printer on Epson Matte paper were more of a challenge. I used brayers to push them down into the wax, I used a burnisher around the edges. Finally, I warmed the panel to slightly to soften the wax, covered it with wax paper, and put a lot of pressure with a hard rubber brayer to force the images into the surface as much as possible.
I brushed a light coat of clear medium just over the images, and the Japanese paper literally melted in and blended nicely into the background. It took several coats to blend in the thicker Epson Paper.
I fused the images, and things looked pretty good, except for some cloudiness over the images, which I carefully scraped out. I probably should have left things alone at this point.
But instead, I got the idea of dry brushing some transparent yellow ochre medium around the top and some red ochre along the bottom of the wall. After fusing, the panel with the thin images looked rather good, but the other showed excessive buildup and cloudiness. So I scraped it back down. I went too far, and had to add some clear medium over the images, scraped some more, touched up, rubbed oil paint and wiped it, etc... I ended up reworking the one that I thought pretty good too.
Anyhow, after messing with them a while more this morning, I thought I would stop and look at them for a while. So here is the one with the Japanese Paper Prints:

And here is the one with the thicker and brighter Epson Paper Prints:

I am not sure at this time which one wins. The Trompe l'Oeil effect is stronger in the latter, but I like the former too...
But I am pretty sure I've got something going there, and am ready to try to go for the "Real Thing".
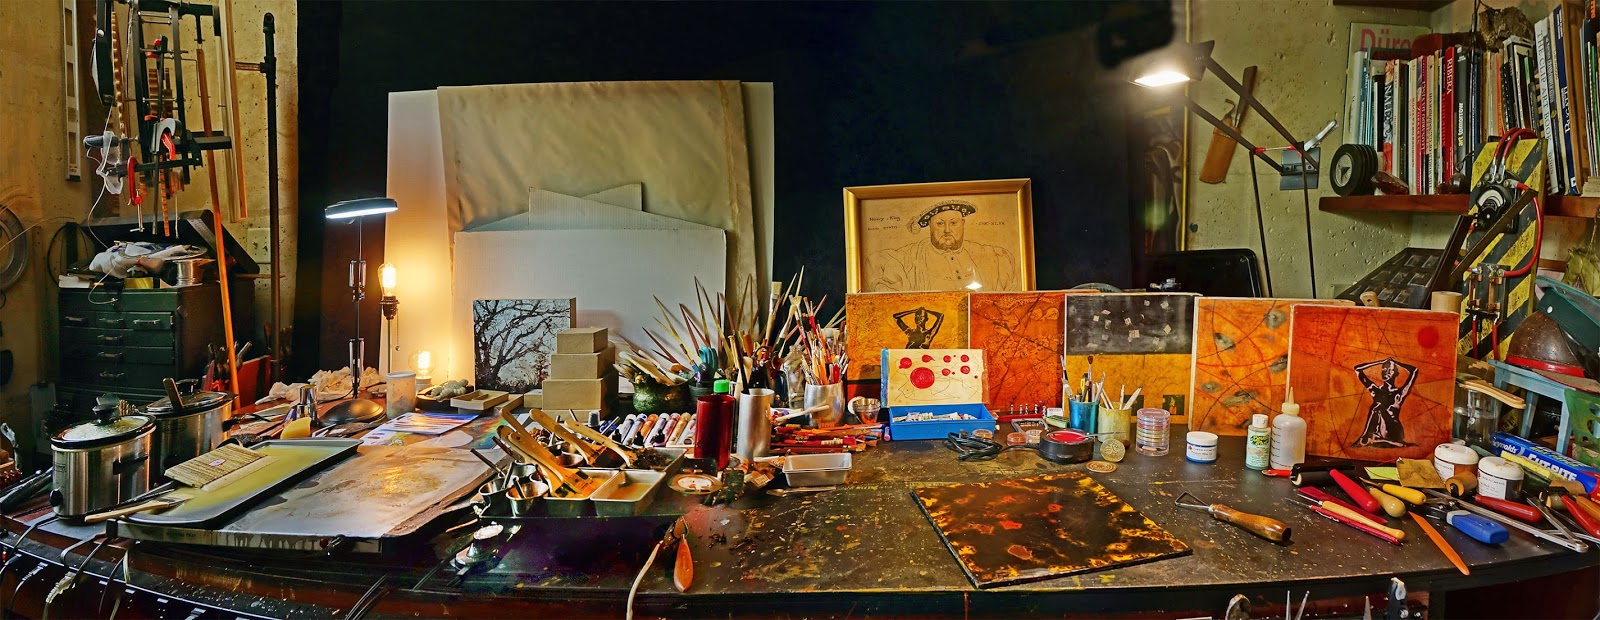
Before I can do that however, I have to completely re arrange my long "desk", which means finding a place to put all that stuff!

I usually place the panel on the "Shabat Tray" when I do that to warm it, so I can do longer smoother strokes with a loaded brush an lay down thinner laters of medium. One has to be careful not to heat the panel too much, lest the wax on it starts melting. But then, happy accidents happen, and you can achieve in this way a sort of "reverse fusing", where the bottom layers melt first.
I worked on my two panels side by side at the same time, and got them both to a point I liked them, similar in many ways, but yet quite different.
The next step was to lay down the four printed images: the plumb line, the envelope, the crucifix, and the Agnus Dei. The images printed on thin Sumi Paper easily stuck to the medium, the thicker ones printer on Epson Matte paper were more of a challenge. I used brayers to push them down into the wax, I used a burnisher around the edges. Finally, I warmed the panel to slightly to soften the wax, covered it with wax paper, and put a lot of pressure with a hard rubber brayer to force the images into the surface as much as possible.
I brushed a light coat of clear medium just over the images, and the Japanese paper literally melted in and blended nicely into the background. It took several coats to blend in the thicker Epson Paper.
I fused the images, and things looked pretty good, except for some cloudiness over the images, which I carefully scraped out. I probably should have left things alone at this point.
But instead, I got the idea of dry brushing some transparent yellow ochre medium around the top and some red ochre along the bottom of the wall. After fusing, the panel with the thin images looked rather good, but the other showed excessive buildup and cloudiness. So I scraped it back down. I went too far, and had to add some clear medium over the images, scraped some more, touched up, rubbed oil paint and wiped it, etc... I ended up reworking the one that I thought pretty good too.
Anyhow, after messing with them a while more this morning, I thought I would stop and look at them for a while. So here is the one with the Japanese Paper Prints:

And here is the one with the thicker and brighter Epson Paper Prints:

I am not sure at this time which one wins. The Trompe l'Oeil effect is stronger in the latter, but I like the former too...
But I am pretty sure I've got something going there, and am ready to try to go for the "Real Thing".
Before I can do that however, I have to completely re arrange my long "desk", which means finding a place to put all that stuff!

No comments:
Post a Comment